Watch this video and follow the steps below to learn how to assemble your Jali radiator cover. You’ll need a Pozidrive screwdriver, and a power drill with a screwdriver attachment will make it easier to insert the bolts. You can also make the cabinet into a permanent structure by using wood glue as you put it together.
Step 1
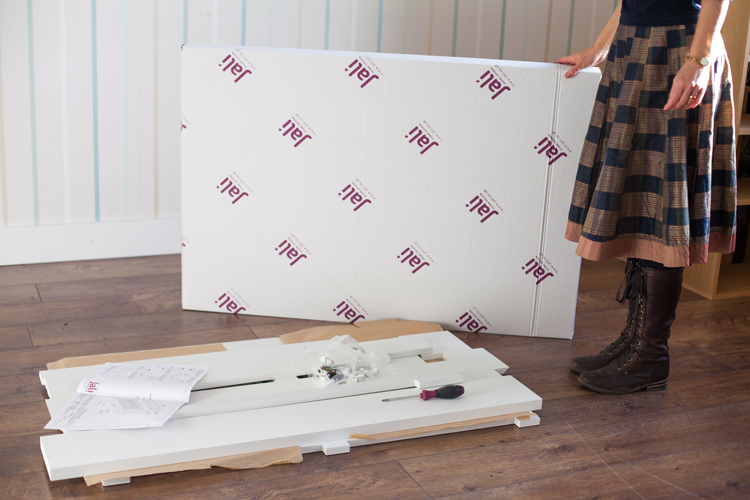
Before you begin, take a look at the provided parts diagram and instructions carefully. These will help you identify all parts and fixings, as you lay all the parts on the floor (Jali’s cardboard packaging is ideal for protecting floors or carpets).
Step 2
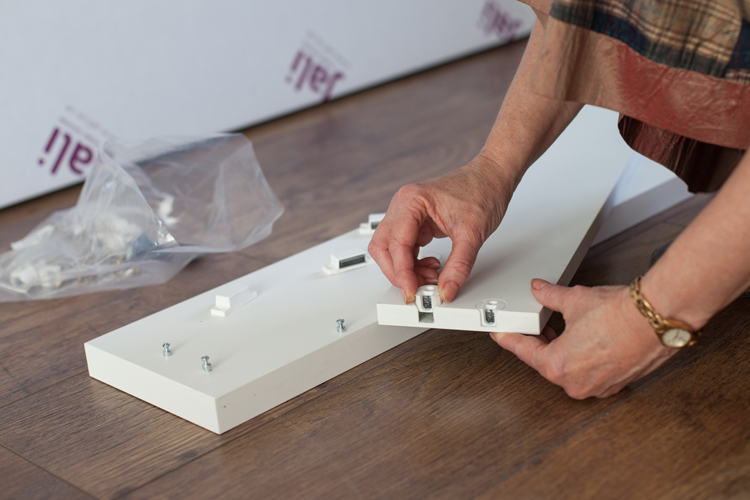
Insert the cam and bolt fixings (above), then join the side panels to the panel supports (below).
Step 3
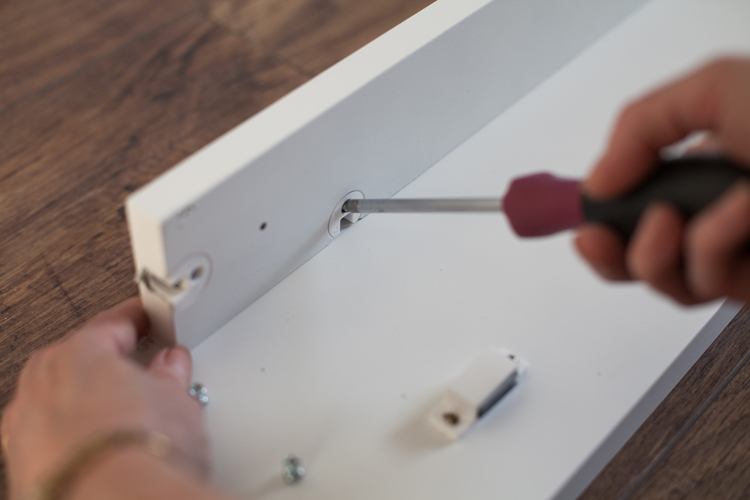
Fit the magnetic catches to the underside of the top (below), using the screws provided. Your Jali kit will have pre-drilled holes to make this easier. Attach the back strut between the side panels.
Step 4
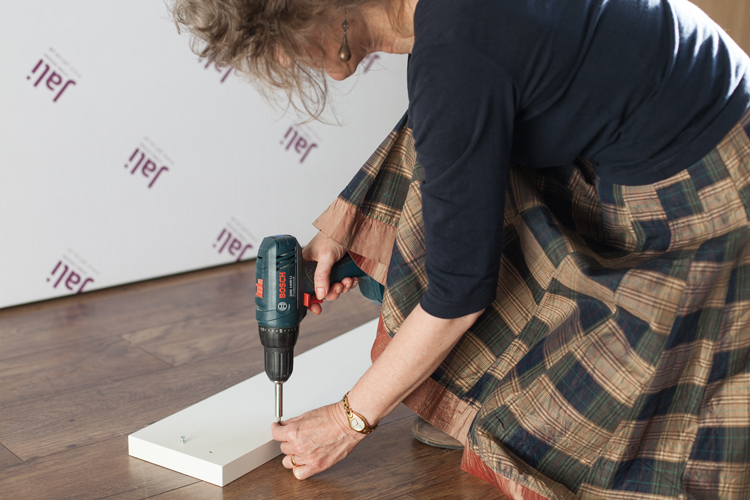
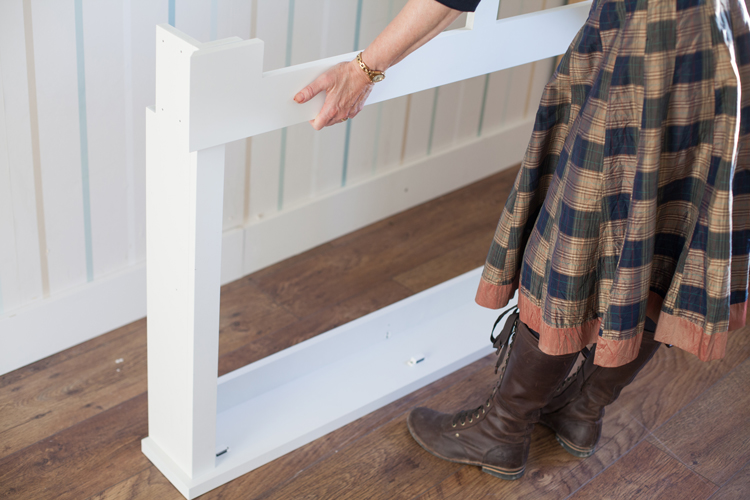
Turn the top board upside-down (holes upwards) and fit the sides and upright to it. You may need an extra pair of hands to keep the unit steady while you do this.
Step 5
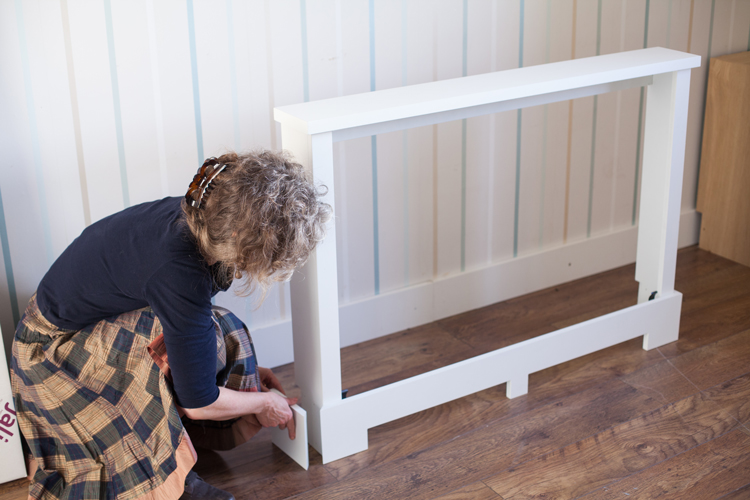
You can now fit the front and side skirting to the uprights using the dowels provided (wood or plastic). You can do this either with the radiator cabinet upside down (as above) or upright. Take care when turning the cabinet over. Be aware that the dowels may fit fairly loosely – this is to allow some adjustment if you have an uneven floor surface.
Step 6
After you’ve assembled the whole cabinet (you may need to scribe the side skirting pieces to ensure they fit snugly against the skirting board of your room), glue the skirting in place to secure it.
Step 7
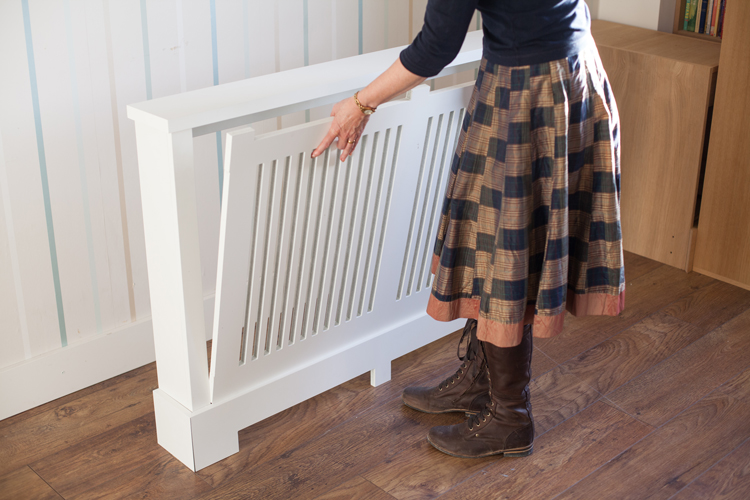
Now insert the front panel and grille; the metal plates at the top of the panel should line up to the magnetic catches on the top board. Once you’re happy with the assembly, you can paint the cabinet (if you haven’t opted for a Jali topcoat) and fix it to the wall through the back strut.
If you have any further questions, please contact us.


