Meet John: A Clever Customer with a Brilliant Storage Transformation
I’d like to introduce you to John, one of our most creative customers. He excellently transformed an alcove using three affordable furniture options from Jali and shared all the steps of the process with us.
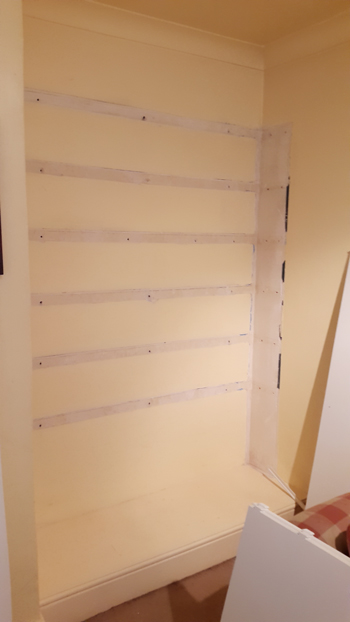
From Cluttered Space to Stylish Storage
John recorded his journey in detail, including photos that show how he turned a messy, unused dumping ground into a smart, built-in storage solution.
His project proves that with good ideas and a little creativity, you can completely transform your space.
John Shares His Story
John has kindly shared the whole story of how he created his stylish new storage area.
What a star! Here’s how he did it..
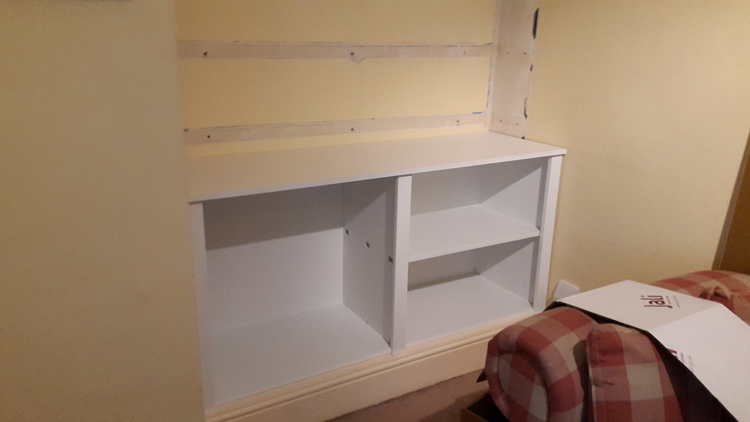
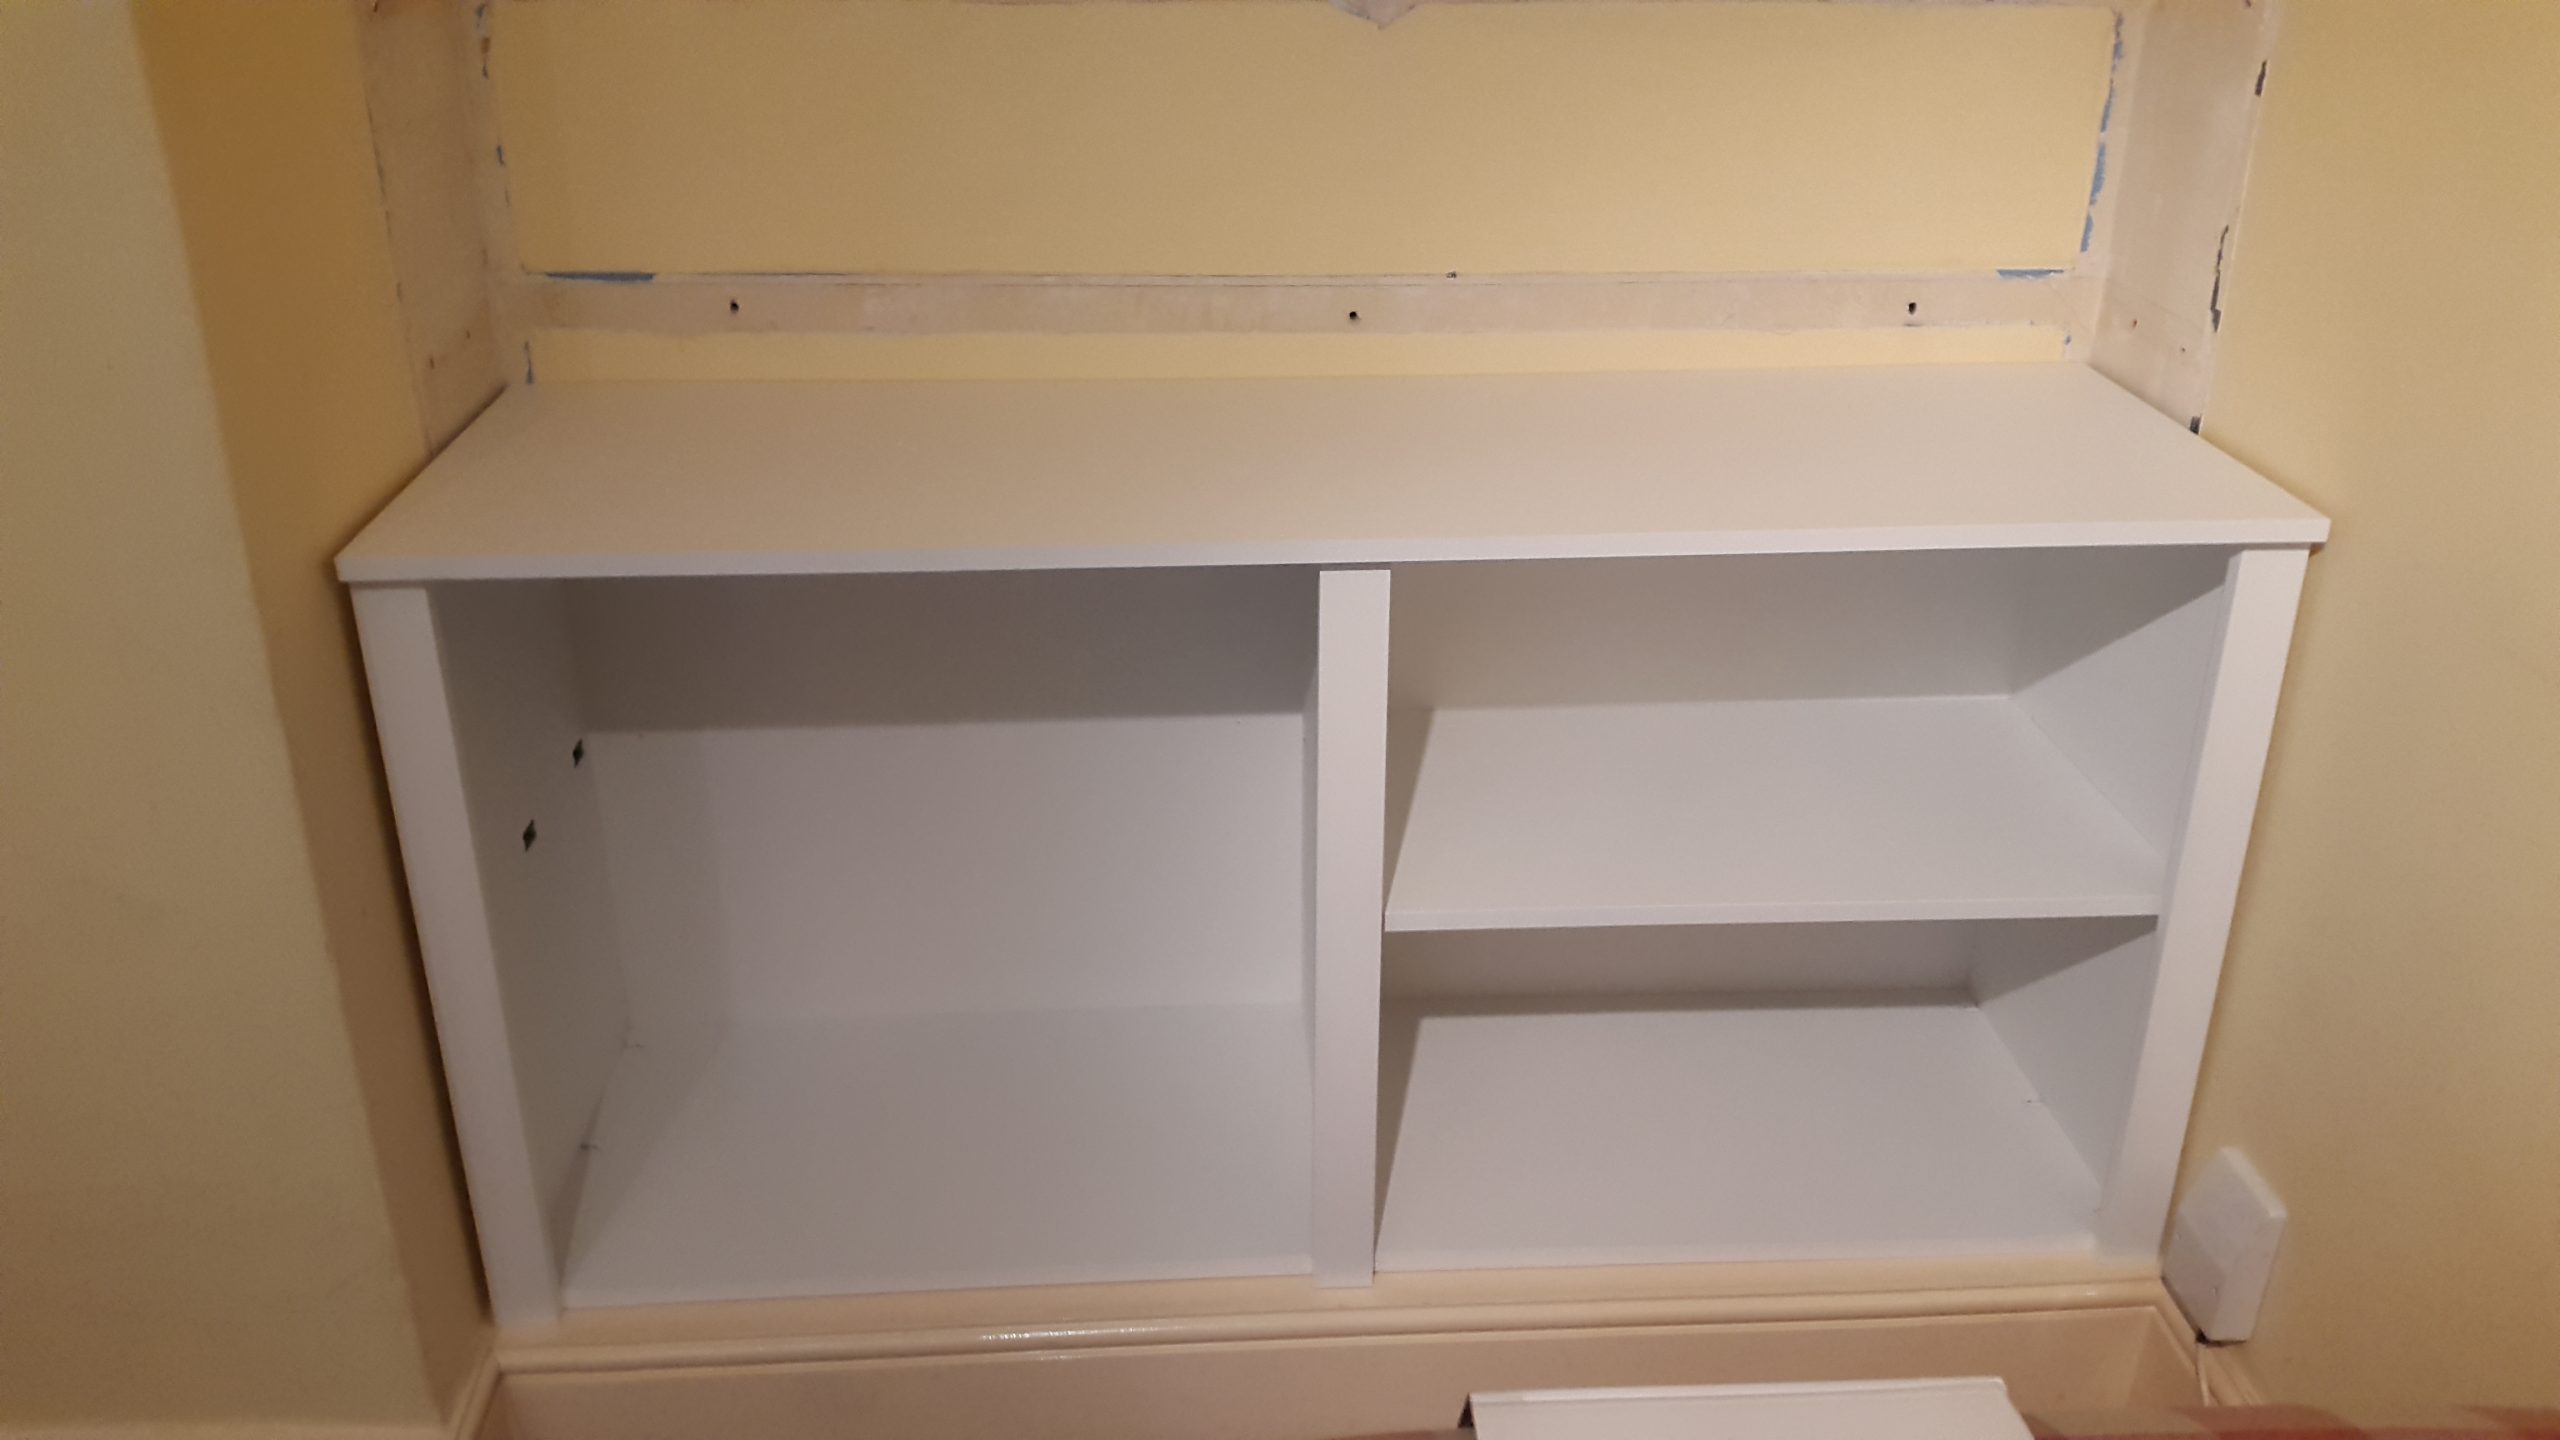
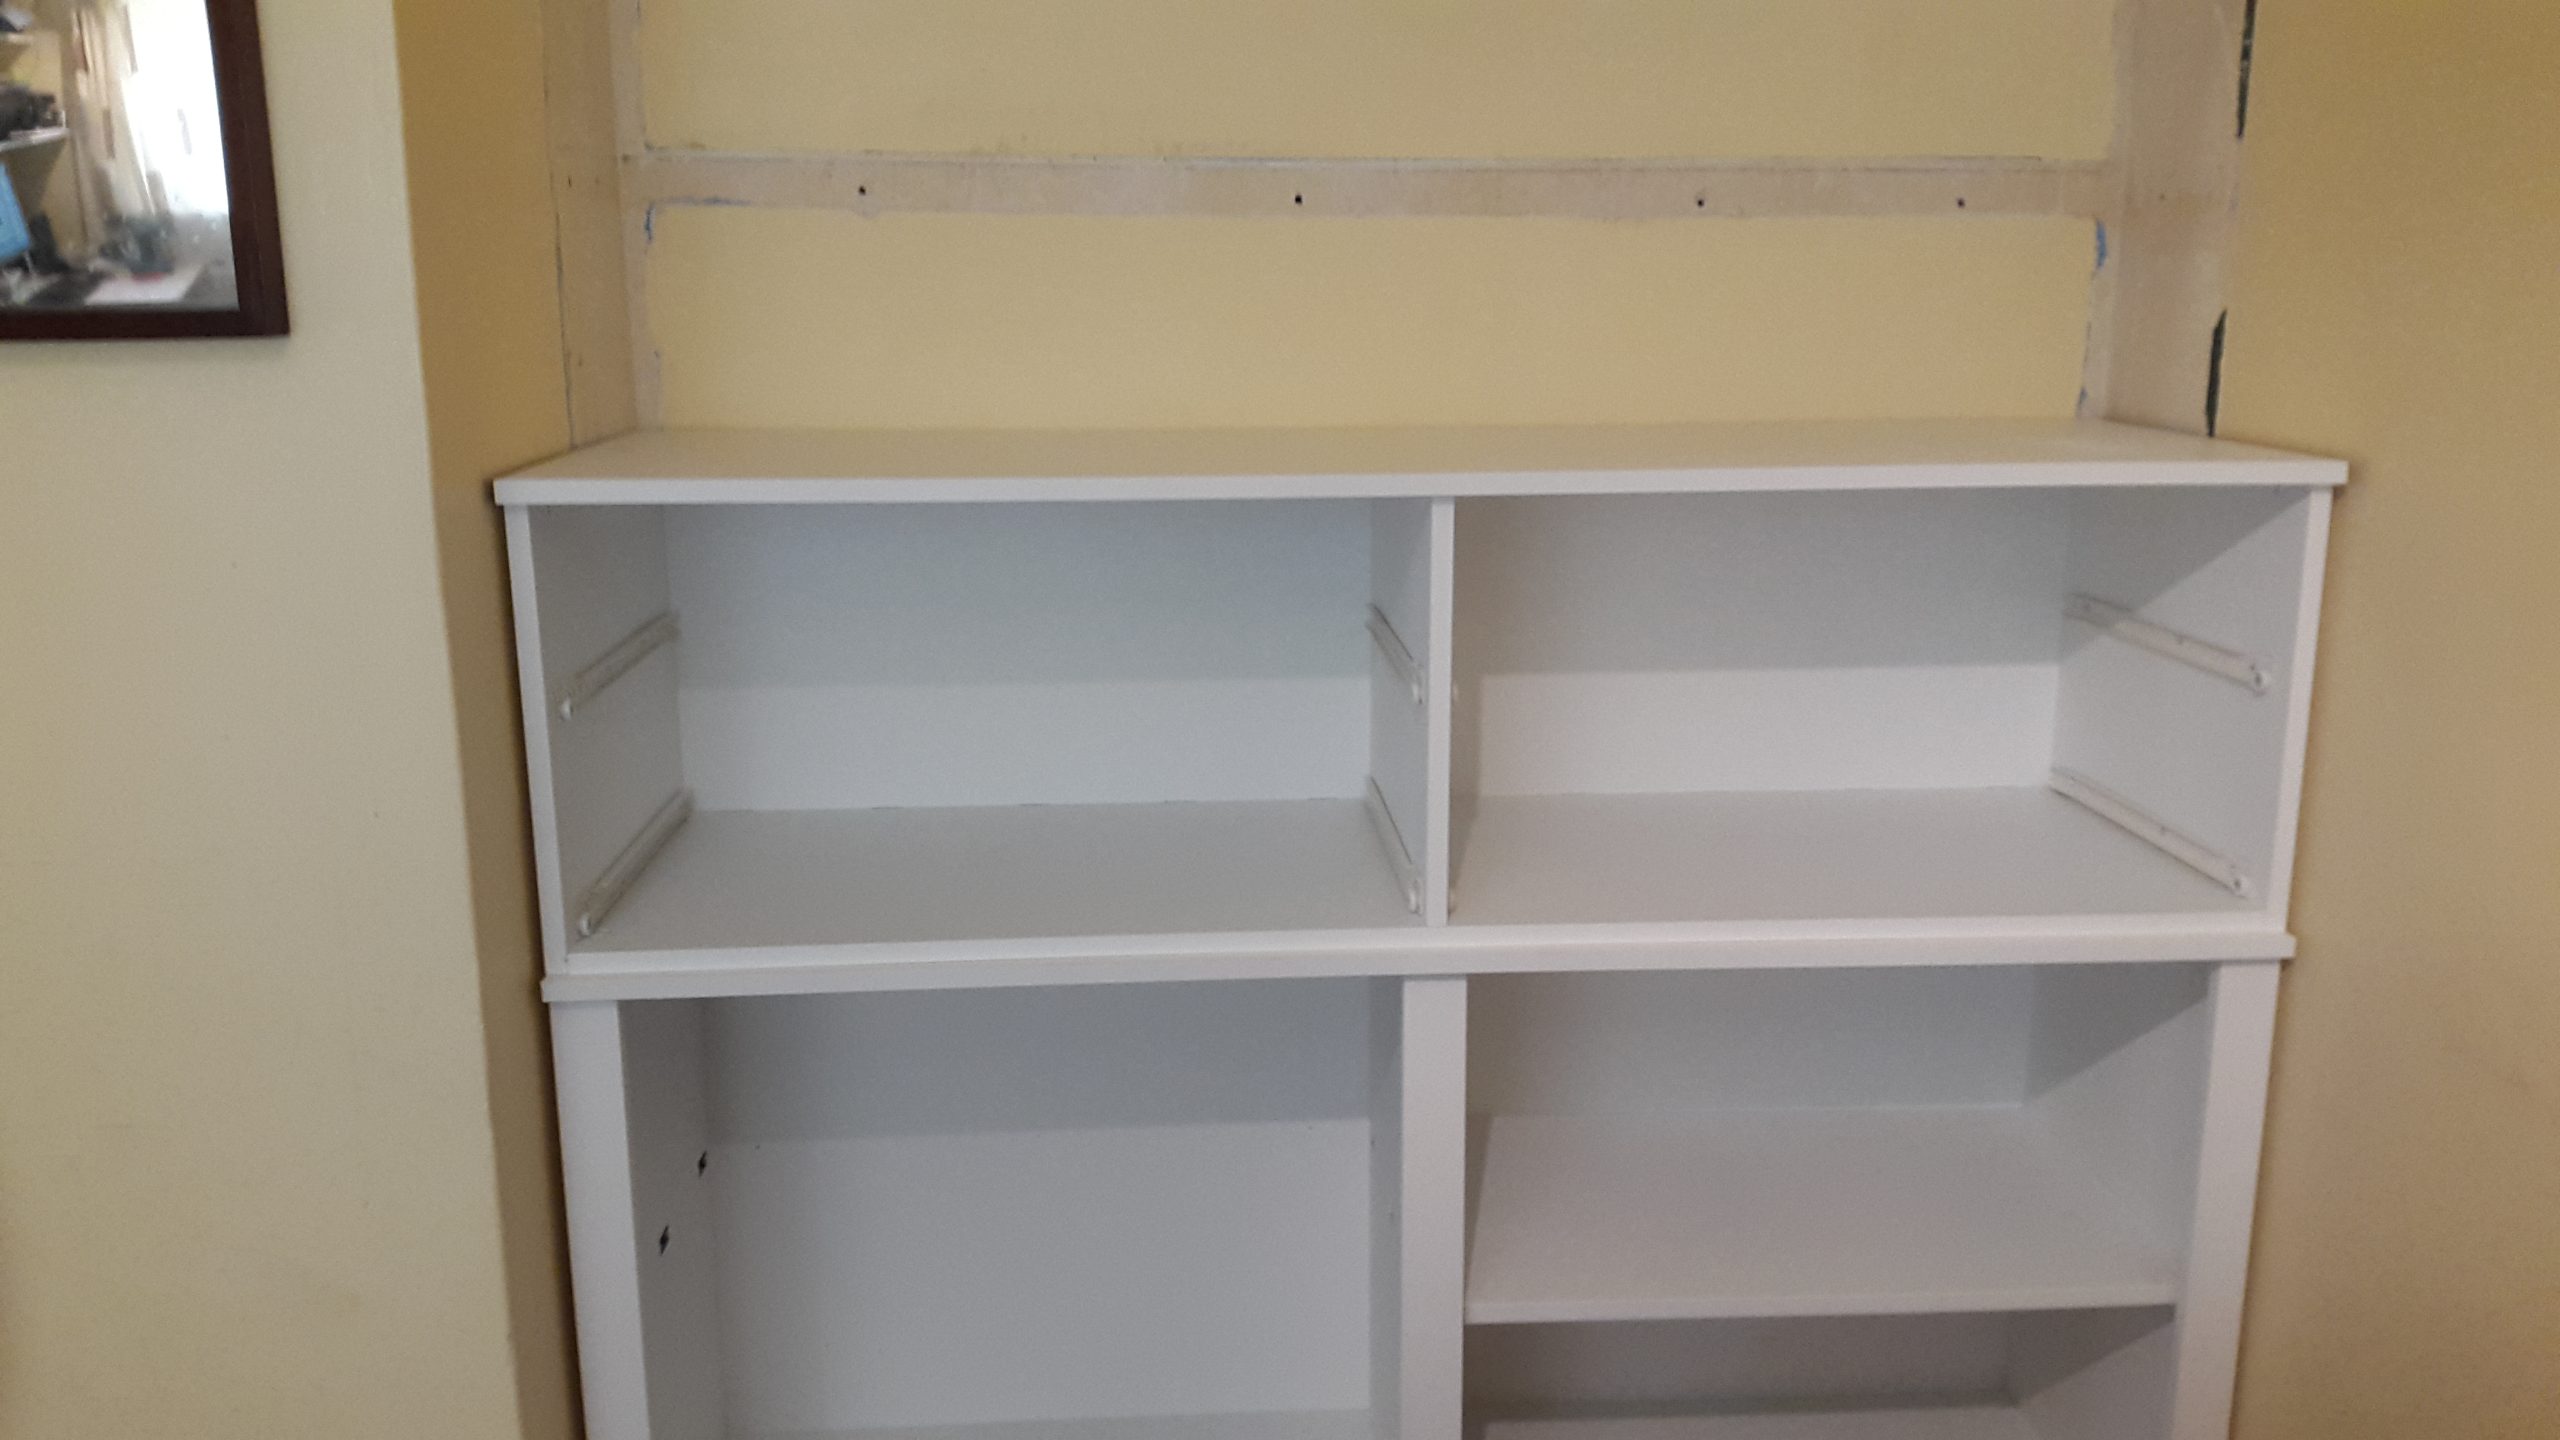
Stage 2 – The Cupboard Goes In
The carcass for the cupboards goes into place [above]. The shelf on the left hand side was ignored as this is where the filing cabinet is going to hide.
And another view [above], showing the box for the internet being in the way – had to lift the carcass over this – and this is where you realise how heavy this stuff really is. ☹
[Yes, John did add that unsmiley face – I can understand why, but it also shows how high-quality and well-made our furniture is. I remember helping a friend to assemble a Jali bookcase – he was particularly surprised at how substantial the back was compared to most. ☺ ]
Stage 2 – The Drawers Go In
The carcass for the drawer unit goes in.
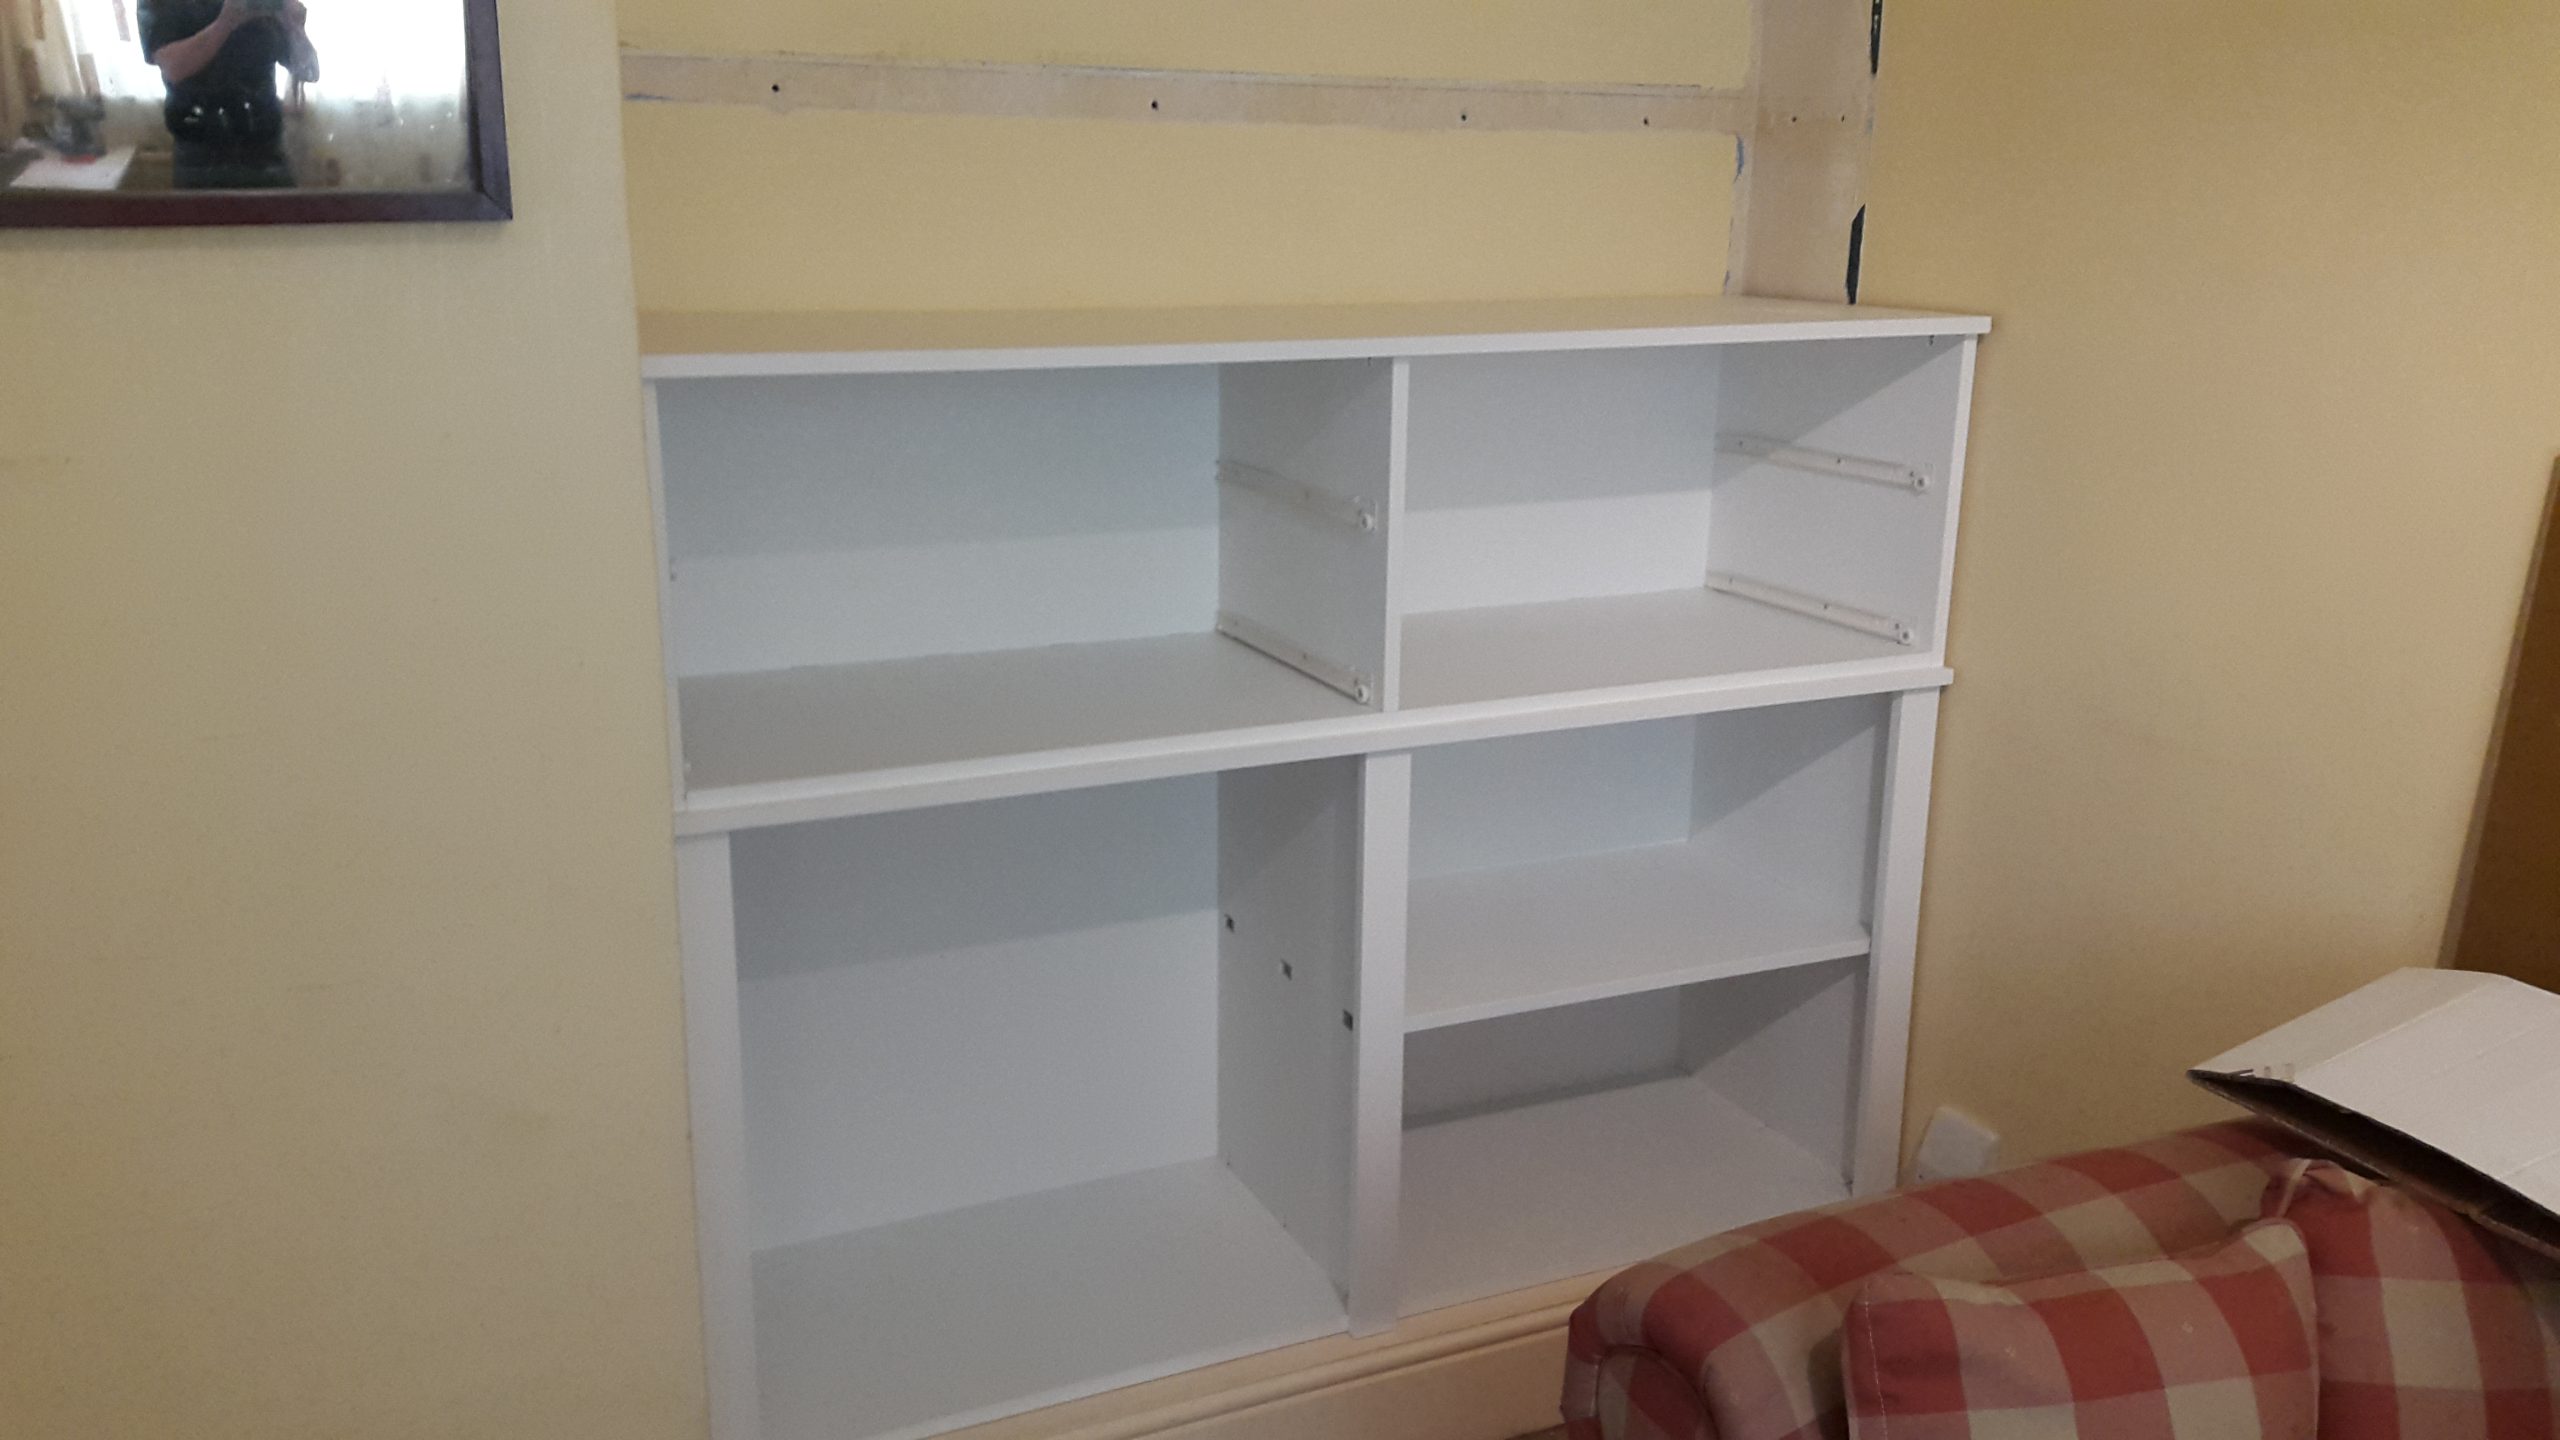
Maybe I should have moved the sofa out of the way – and the mirror !
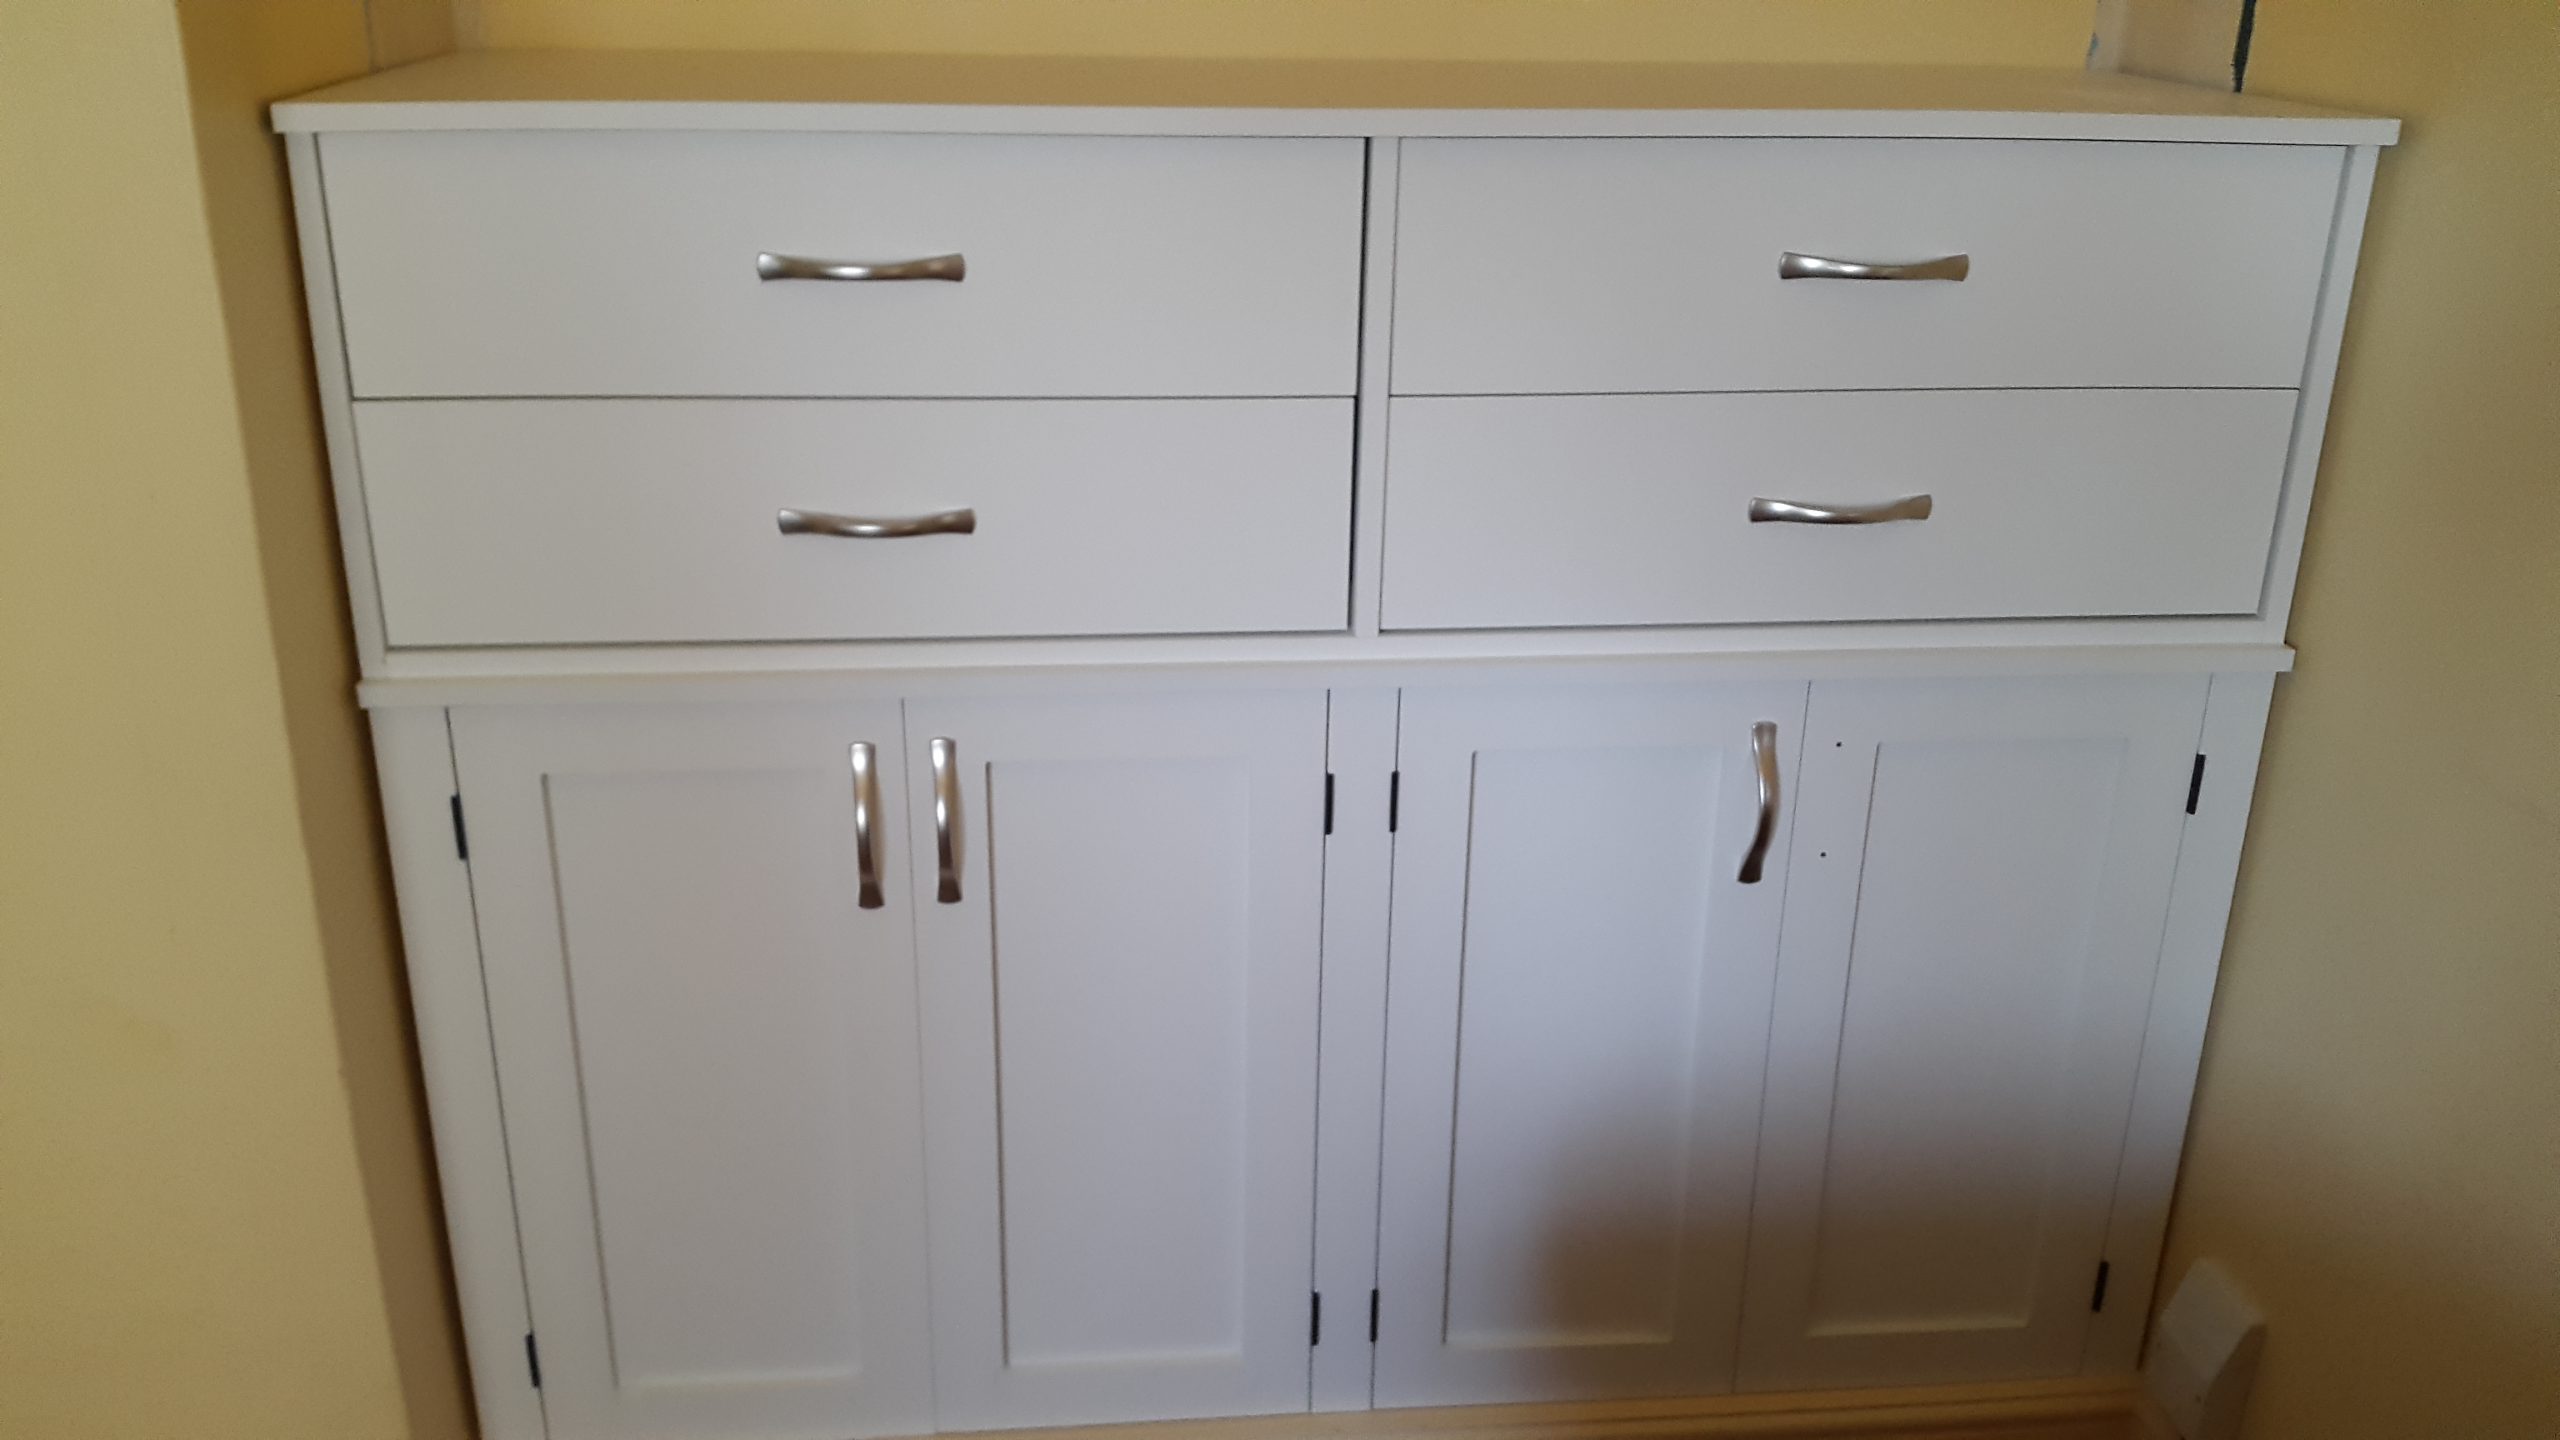
Drawers and doors are all fitted in:
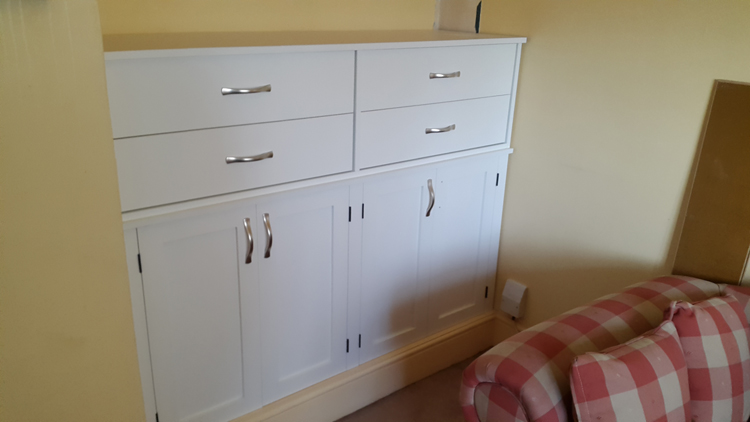
Yes – I know there’s a handle missing, this was replaced by post in a couple of days, the first one had a fault in the finishing. Thanks Jali for the speedy replacement. [You’re very welcome John! We like to get replacements out as fast as we possibly can.]
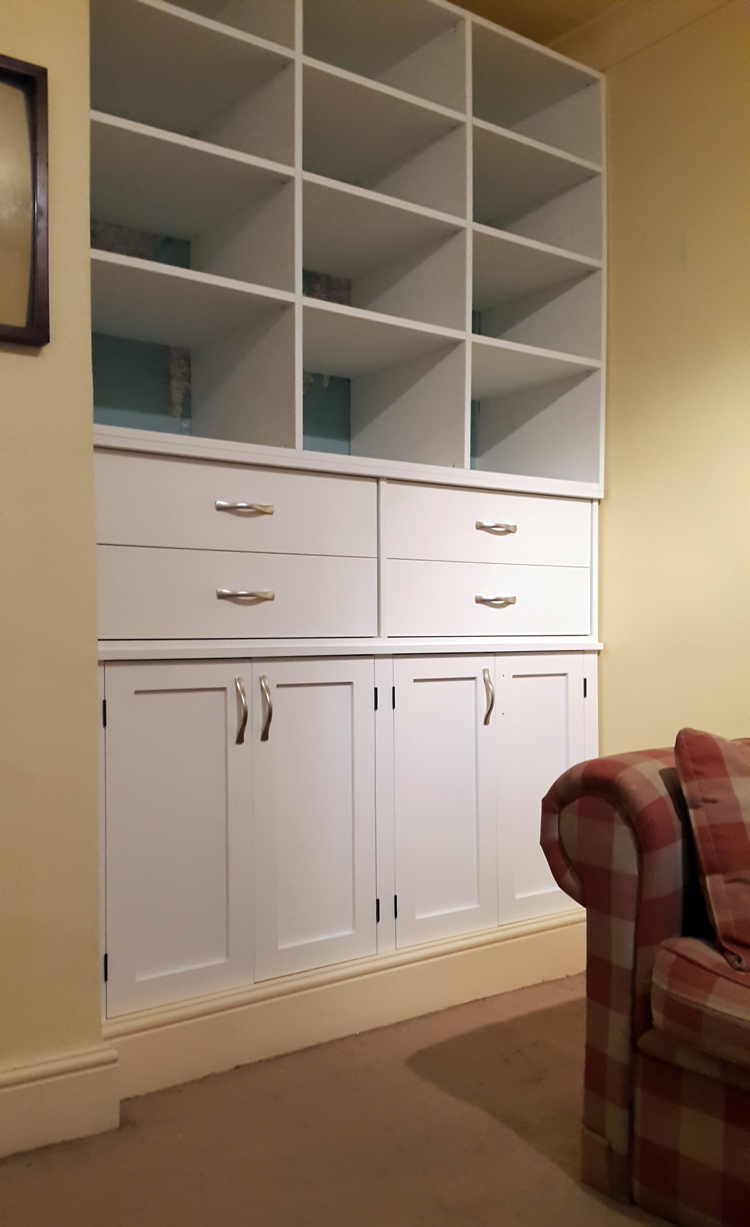
Final Step
Add the Shelving:
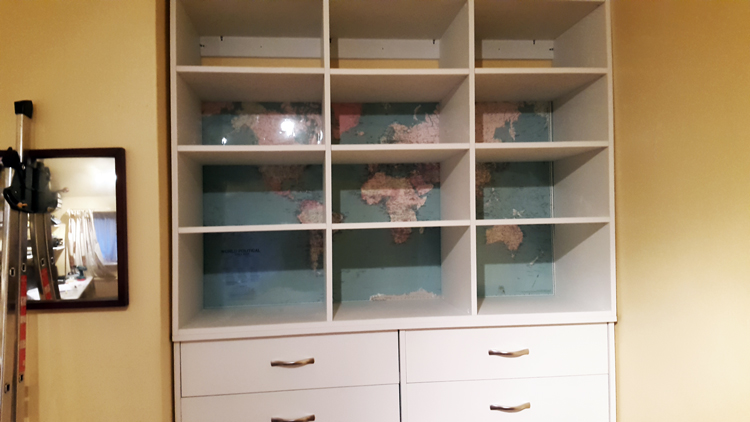
And the map of the world (from my old office) has found a new home, very conveniently covering up the marks on the wall from the original shelving unit, which I had neglected to cover up.
And finally – the whole completed article. The carpet was the next thing to go!
The End
[Well, what more can I say, except to thank John warmly for his effort, time and generosity in showing us what is possible with some imagination, inspiration and a dash of DIY derring-do. So what are we all waiting for – future Jali projects, here we come!]