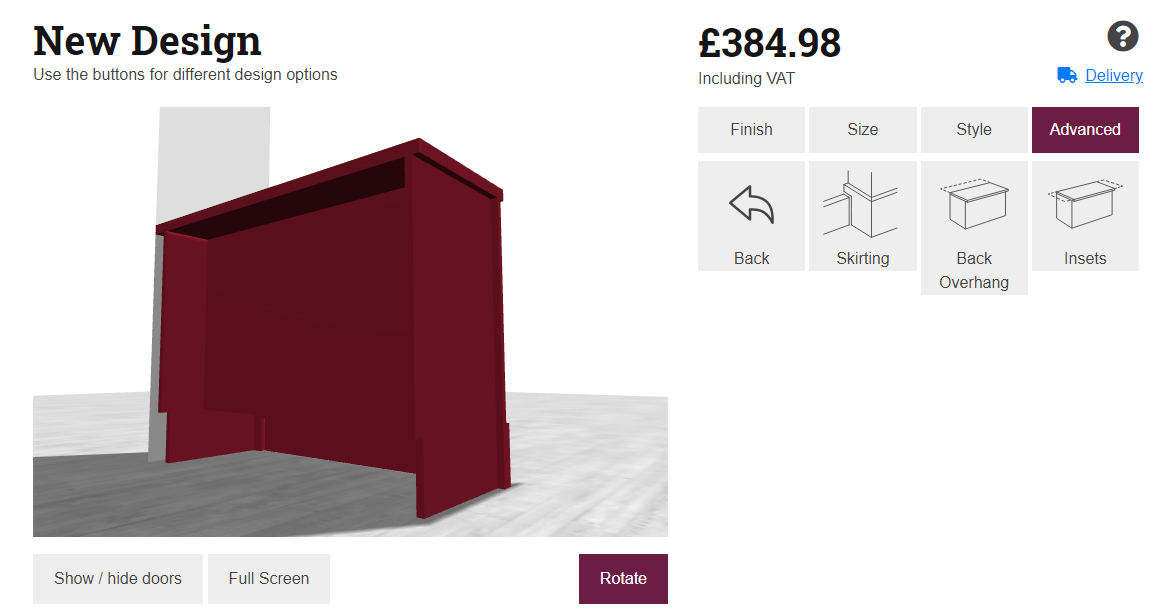
Walls in your home may not be completely straight. If you want to fit a unit to these walls, you or a local tradesman will need to cut the relevant parts to fit on site. Here, we’ll discuss using the Jali Designer to create made to measure furniture ready for fitting.
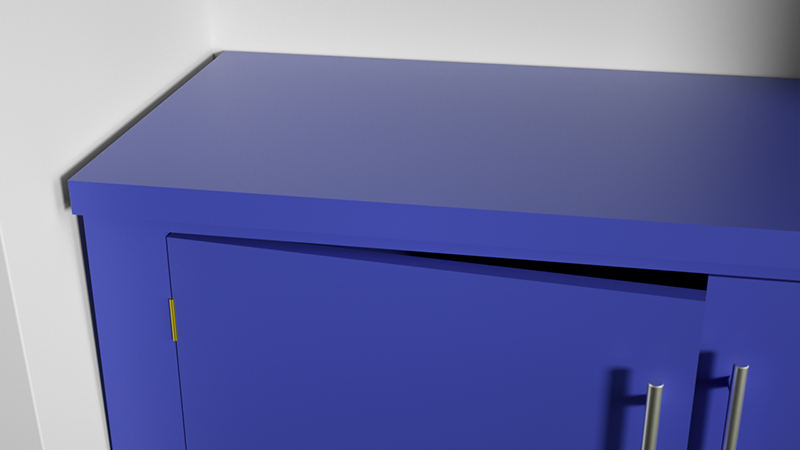
Unfitted Cabinet
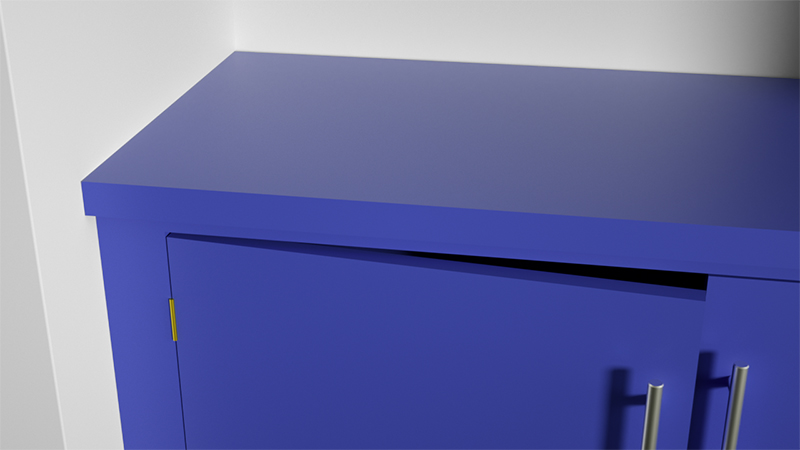
Fitted Cabinet
Side or Alcove Fitting
If the unit is going inside an alcove, we need to measure the wall-to-wall alcove width at its widest point – ignoring any skirting board. This measurement can be input as the unit width. You may wish to add a few millimetres extra to the width, to ensure you will have enough to work with.
If the unit is side fitting, just set whatever width you like!
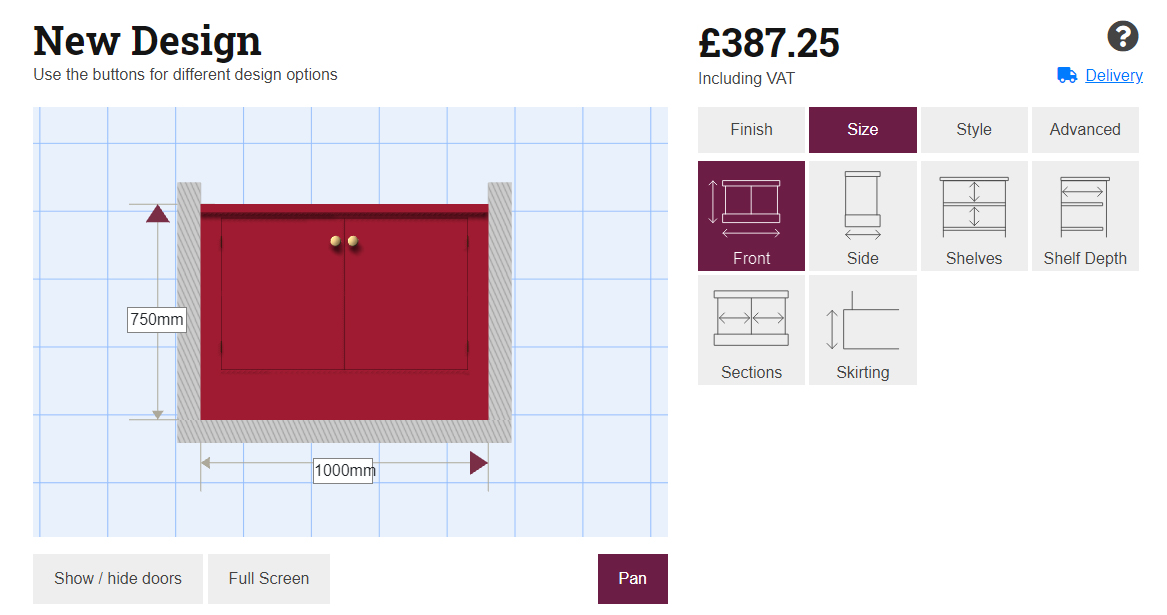
Next, go to Advanced and Situation. Choose either left/right hand corner, or alcove fitting. Then, under Advanced and Fitting, click Insets. This view reveals the margins at each side; the amount that can be cut or scribed without affecting the cabinet itself. You can increase the Inset amount (usually 18mm by default) on the side/s you intend to fit. If the walls are really not straight, you might want to set the Insets to 50mm or more. Every situation is different.
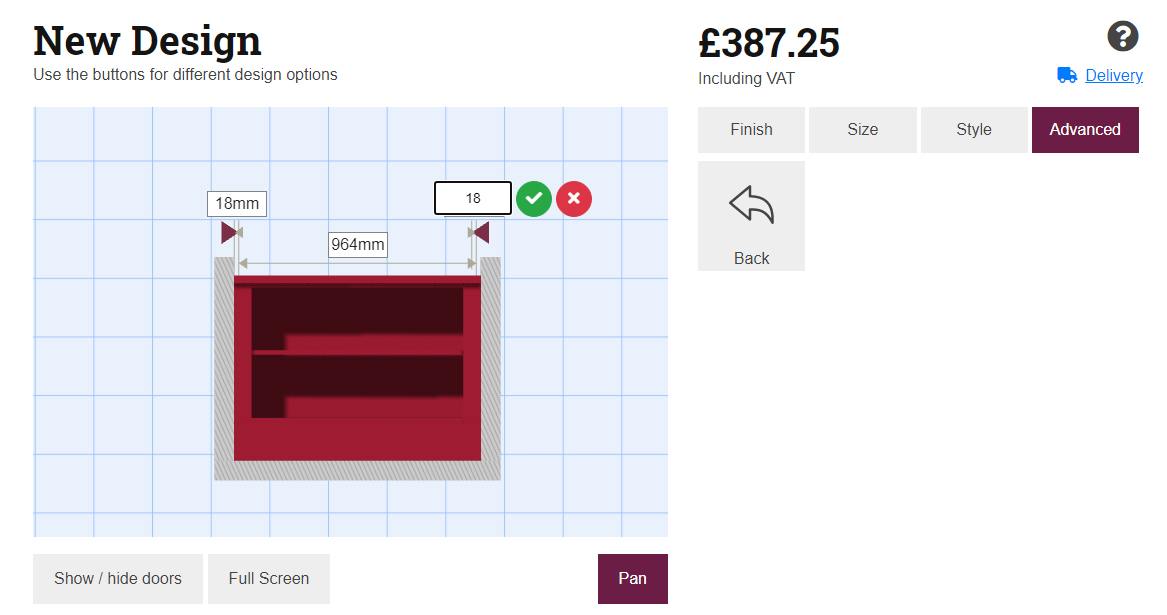
Hint: to better understand what’s going on when you make these changes, go back into 3D (tap Finish or Advanced) and view the unit from behind.
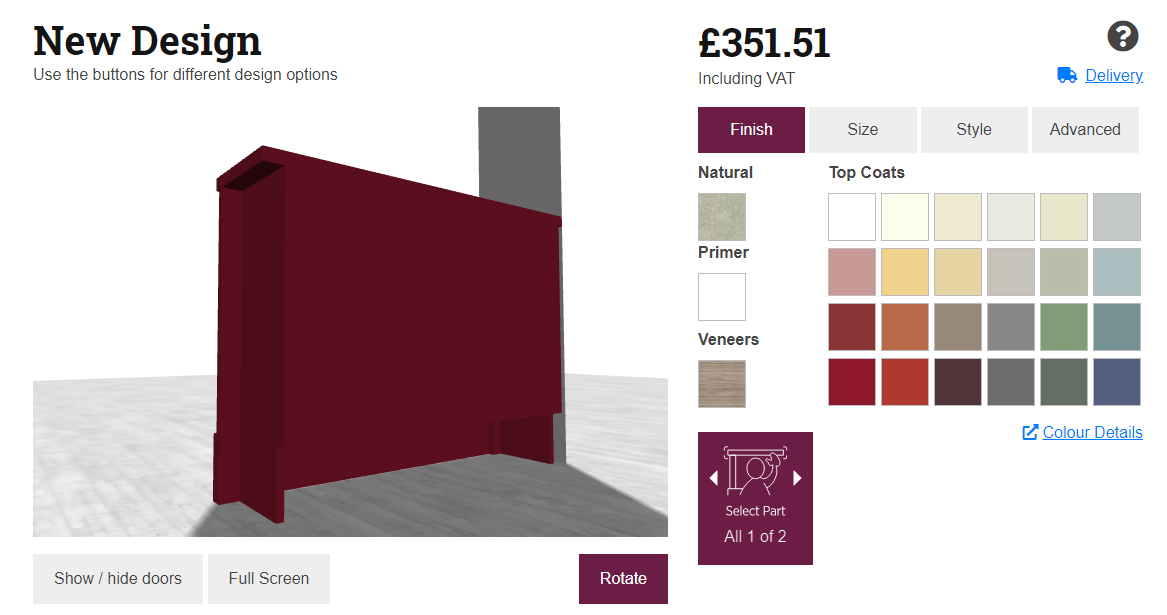
Changing the Insets does not change the overall width. Instead, it makes the inside of the cabinet slightly narrower.
On site, the unit Top, Upright/s and Front Skirting may need to be to cut with a saw for the perfect fit. We’ll follow up with a DIY guide on achieving this simply and safely.
Fitting to the Back Wall
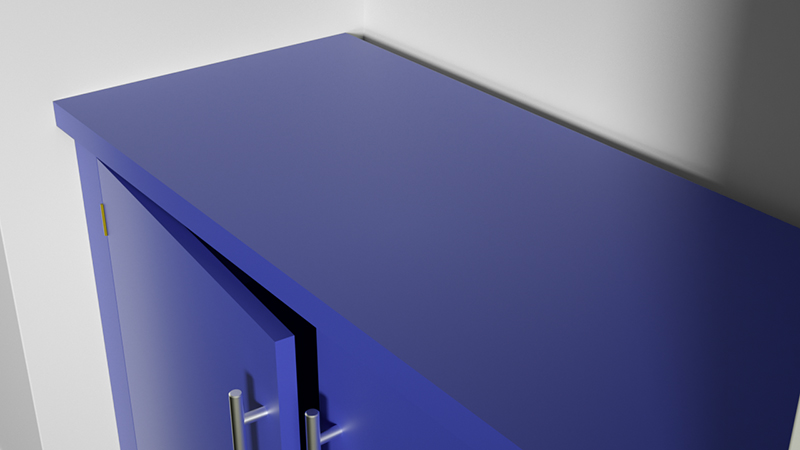
Unfitted Cabinet
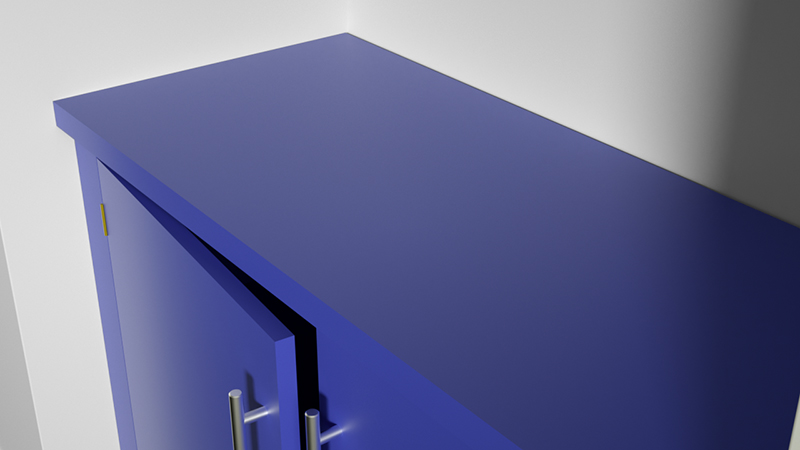
Fitted Cabinet
The back wall may also not be straight. For Jali Cupboards and Bookcases, you can go to Advanced, Fitting and then Back Overhang.
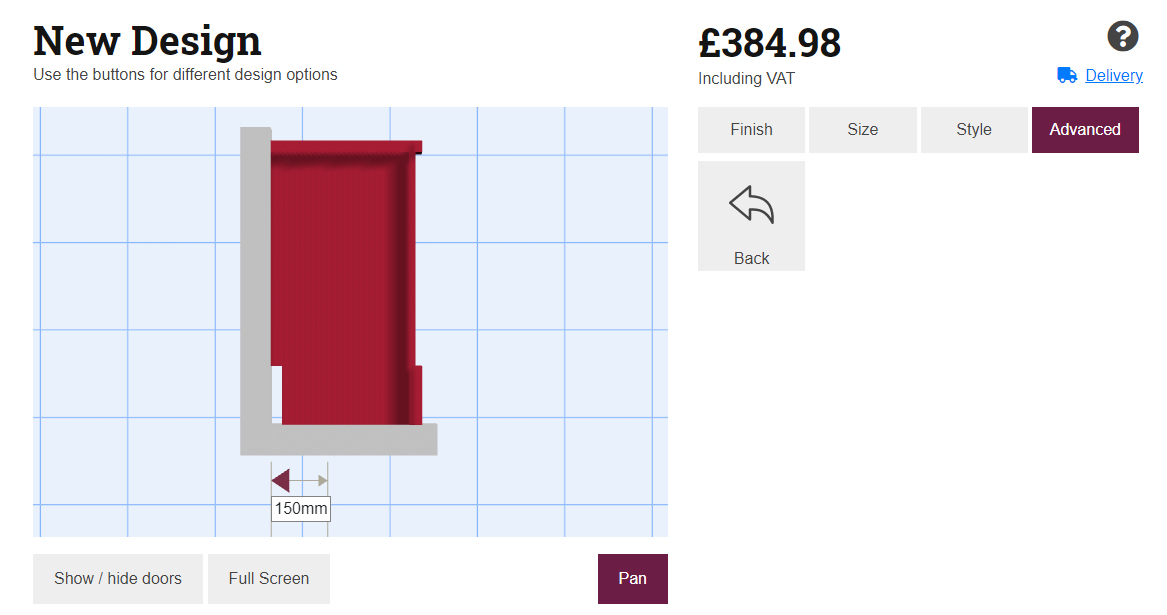
Adjusting the Back Overhang will add an extra depth to the Sides and Top. However, the ‘inside’ of the cabinet will remain unchanged. This is helpful if you intend to scribe the Sides and Top to fit perfectly against the back wall, or if you wish to accommodate other fixtures behind the cabinet.
